How to Make Freeze Dried Sweets at Home Easily?
Creating Freeze Dried Sweets at home can be a delightful and rewarding experience. Imagine vibrant fruits, candies, and even desserts transformed into crunchy, flavorful treats. With freeze drying, moisture is removed while maintaining taste and nutrients. This method requires some equipment, but the rewards are worth it.
However, achieving the perfect batch of Freeze Dried Sweets isn’t always easy. You might face challenges like uneven drying or texture issues. Learning from mistakes is part of the process, and it helps refine your techniques. Focusing on each step can lead to sweet perfection.
It's essential to experiment and be patient. Not every attempt will yield success, but that’s okay. Embrace the learning curve and enjoy the journey of making your own unique freeze dried treats. With practice, you’ll discover the joys of creating your own flavorful adventures.
Understanding Freeze Drying: The Science Behind the Process
Freeze drying is a fascinating process that transforms food by removing moisture while preserving its structure. At the core of freeze drying lies sublimation, where water transitions from ice to vapor without becoming liquid. This process allows for long-term preservation of sweets, maintaining their flavor and nutritional value. According to the Institute of Food Technologists, freeze-dried foods retain 97% of their original nutrients.
During freeze drying, food is first frozen to temperatures as low as -40°F. The food is then placed in a vacuum chamber, where the pressure is significantly reduced. The ice sublimates, leaving only lightweight, porous food behind. Data reveals that the freeze-drying market is expected to grow at a compound annual growth rate (CAGR) of 12.2% from 2022 to 2028, reflecting a rising consumer trend for healthier snacks.
While the benefits are clear, achieving the perfect freeze-dried treat at home can be challenging. Factors like temperature and humidity can affect the final product. Home kits vary in effectiveness, often requiring trial and error. Sometimes, the texture can be less than ideal. Understanding these nuances is key for enthusiasts. With patience and experimentation, anyone can create delightful freeze-dried sweets.
Essential Equipment for Home Freeze Drying
When it comes to home freeze drying, having the right equipment is essential. First, you need a freeze dryer. This machine removes moisture from food, preserving flavors and nutrients. Look for models that are user-friendly and suitable for small batches. Don’t forget to check the warranty and maintenance options.
Next, consider vacuum sealers. These devices help store your freeze-dried sweets properly. They prevent air from entering, which can lead to spoilage. Also, airtight containers are necessary. They keep the moisture out and extend the shelf life of your treats. Glass jars or heavy-duty bags work well.
Finally, remember that practice makes perfect. The first batch might not turn out as expected. Maybe the texture isn't right, or the flavors are off. Experimentation is key, and each attempt will teach you something new. Don't get discouraged; adjust your methods and keep trying.
Step-by-Step Instructions for Preparing Sweets for Freeze Drying
Making freeze-dried sweets at home can be a fun adventure. Begin by selecting fruits or sweets you enjoy. Strawberries, bananas, or gummy candies work well. Wash and slice fruits into uniform pieces. This ensures even drying. For candies, cut them into bite-sized portions.
Next, prepare your freeze dryer. Make sure it is clean and ready. Place the sweets on trays, leaving space between each piece. This promotes airflow. Depending on the type of food, drying times will vary. It might take several hours. Keep an eye on them. Sometimes, they may not dry completely.
After drying, check for crispness. If they aren’t fully dried, you can put them back in the freeze dryer. Store your freeze-dried sweets in airtight containers. Remember not to skip this step. Improper storage can lead to moisture getting in. Enjoy your homemade treats, but be prepared for some trial and error along the way.
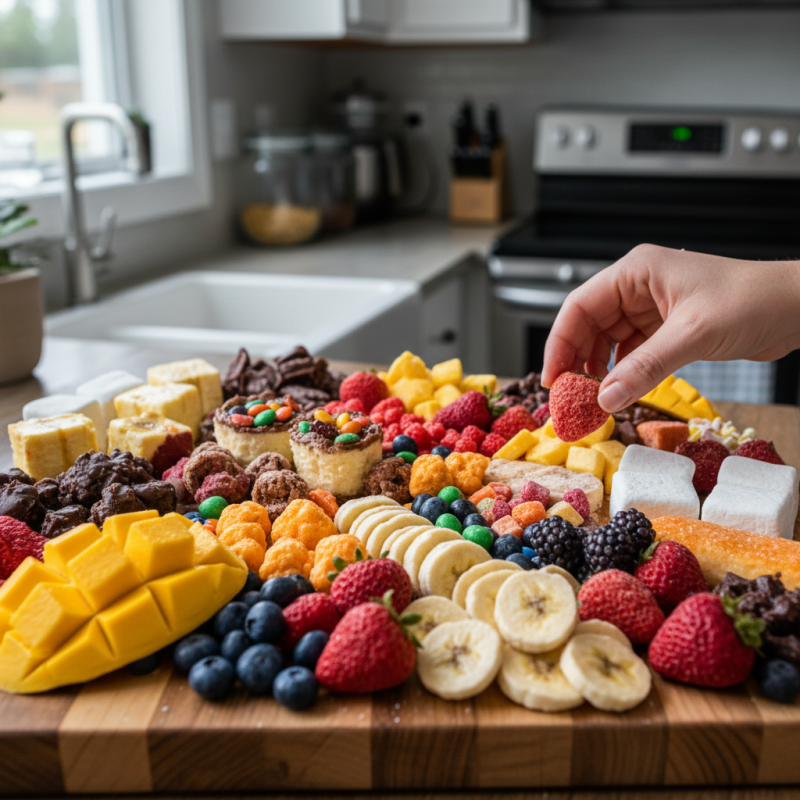
Freeze Dried Sweets Preparation Process
Best Ingredients for Making Freeze Dried Sweets at Home
Creating freeze dried sweets at home can be a fun and rewarding project. The ingredients you choose play a crucial role in achieving the best results. Start with fresh fruits, as they provide vibrant flavors and appealing textures. Strawberries, bananas, and apples are all excellent choices. They retain their shape and sweetness when freeze dried.
Next, consider adding natural sweeteners. Honey or maple syrup can enhance the flavor, making the sweets more enjoyable. Keep in mind that too much sweetness might overpower the fruit. Balance is key. You can also experiment with herbs like mint or basil for unique flavor combinations.
For a crunchy texture, try incorporating nuts or seeds. While they can be tricky, they add a delightful crunch. Don’t get discouraged if your first attempts don’t turn out perfect. Freeze drying can be unpredictable. The humidity level and temperature can impact the process. Stay patient and adjust your methods as needed. Enjoy the learning journey!
Storage and Rehydration Tips for Freeze Dried Treats
When it comes to freeze-dried sweets, proper storage is crucial. Storing these treats in airtight containers can significantly increase their shelf life. According to a study by the USDA, products can last up to 25 years if stored correctly. Vacuum-sealed bags are a great choice, keeping moisture and air at bay. Consider using oxygen absorbers for extra protection.
Rehydration is just as important for enjoying freeze-dried treats. Simply adding water may not be enough. The rehydration process could take several minutes to hours, depending on the type of sweet. Some may require steaming or soaking in warm water for best results. The National Institute of Food and Agriculture suggests that many freeze-dried items regain their original texture when rehydrated properly.
However, mistakes can happen. Not all sweets rehydrate well. Some may lose their flavor or texture. Failing to store them correctly might lead to moisture damage. It’s essential to regularly check stored items for any signs of spoilage. Experimenting with different rehydration methods can also uncover the best results. Finding that balance is part of the fun of freeze-drying at home.
How to Make Freeze Dried Sweets at Home Easily? - Storage and Rehydration Tips for Freeze Dried Treats
| Sweet Type | Ingredients | Freeze Drying Time | Storage Method | Rehydration Tips |
| Fruit Chews | Fruits, Sugar, Citric Acid | 24-36 hours | Airtight containers, Dark cool place | Soak in warm water for 5-10 minutes |
| Chocolate Bites | Chocolate, Nuts, Fruits | 12-24 hours | Vacuum-sealed bags, Cool location | Dust with water before consumption |
| Marshmallows | Sugar, Gelatin, Corn Syrup | 6-12 hours | Oxygen absorbers, Sealed jars | Rehydrate in hot chocolate or warm water |
| Fruity Gummies | Fruit Juice, Gelatin, Sugar | 18-24 hours | Cool, dark storage in resealable bags | Place in warm water until soft |
| Nut Clusters | Nuts, Maple Syrup, Sea Salt | 12-18 hours | Airtight containers with silica gel packs | Rehydrate in water or eat dry |