How to Choose Small LED Strip Lights for Your Needs?
Small LED Strip Lights can turn a dark shelf, narrow stair, or display cabinet into a more usable space. But a compact roll is not automatically the right choice. Brightness, color, heat, and power requirements matter just as much as length. Small details matter.
The U.S. Department of Energy reports that LED products use at least 75% less energy and can last up to 25 times longer than incandescent lighting. That broad comparison is useful, but it does not tell you whether a particular strip will look comfortable beneath your kitchen cabinets. Check lumens per meter, color temperature, voltage, cut points, and dimmer compatibility. For a bathroom or covered patio, check the product’s IP rating and installation instructions, too. A strip that is too bright can create harsh reflections on glossy tile.
Lighting researcher Michael Royer of Pacific Northwest National Laboratory studies solid-state lighting and how people experience it. A practical paraphrase of the selection principle reflected in his work is: judge a light by its measured performance and visual quality, not by its size alone. This is a paraphrase, not a verbatim quotation. For instance, compare two strips at the same brightness and notice whether warm or neutral white suits the room. Then confirm that the power supply matches the strip’s voltage and total wattage. One limitation remains: product labels vary, and small strips can still run warm. A careful comparison beats a quick guess.
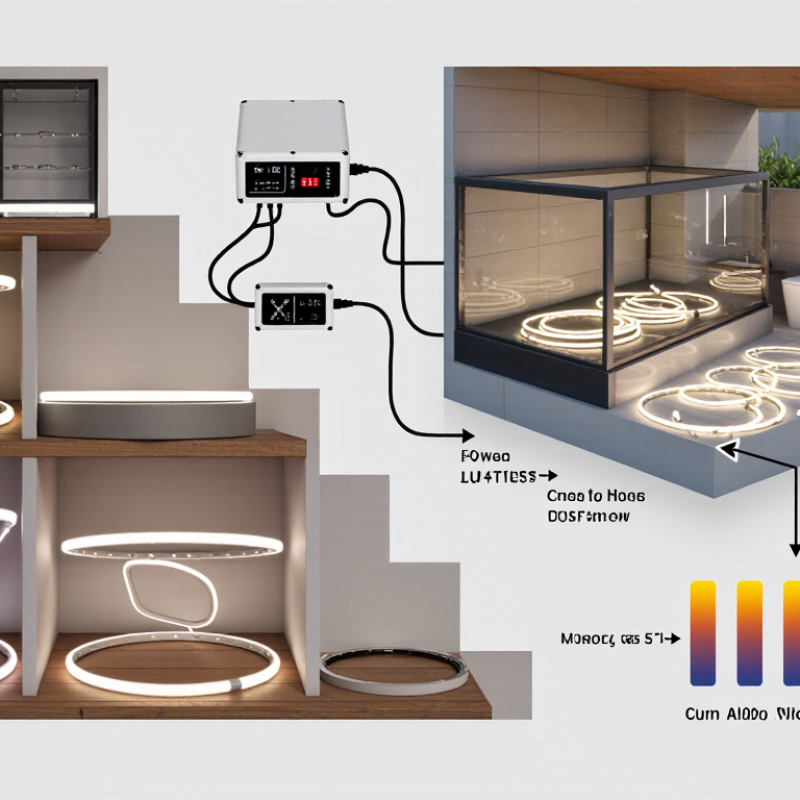
Understanding Small LED Strip Light Types and Features
Small LED strip lights come in several formats, and their size affects where they fit.
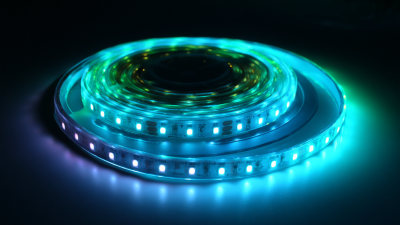
Narrow, low-profile strips can tuck beneath cabinet lips or inside display cases, while flexible strips bend around gentle curves. Check the LED spacing: closely spaced diodes usually create a smoother line of light, especially behind a shallow diffuser. Measure the channel before buying. A few millimeters matter.
Color and control options shape how a strip feels in daily use.
Single-color strips suit task lighting, while tunable white models shift from warm to cool tones. RGB strips offer changing colors; RGBW versions add a separate white diode, which can make everyday white light look more natural. Check whether the controller and power supply support the strip’s voltage and dimming method. Compatibility is easy to overlook.
Also compare voltage, cut marks, and protection ratings.
Short 5-volt strips can suit small USB-powered projects, while 12- or 24-volt options may work better for longer runs, depending on the product’s specifications. Cut only at marked points. Check the label. Water-resistant coatings can help near splashes, but an IP rating does not make every strip suitable for constant moisture. Heat matters, too: a strip pressed against an insulating surface may run hotter and lose life sooner. I would not choose by brightness alone; diffuser depth, mounting surface, and the room’s actual use can change the result.
Matching Strip Size, Brightness, Color, and Power to Your Space
Measure the space before choosing a strip.
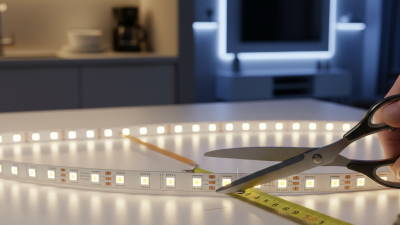
Check its width, length, and the locations of outlets or corners. A narrow shelf may need a slim strip, while a cabinet edge can hide a wider one. Also check the cut marks; cutting elsewhere may damage the circuit. Small detail, big difference.
Brightness should suit the task.
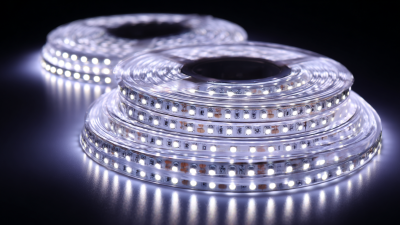
Soft light can work beneath a bed, but a kitchen counter usually needs stronger, more even illumination. Compare lumen output, and consider LED density: closely spaced LEDs tend to look smoother, especially in shallow channels. Warm white feels relaxed; cooler white can make a work area appear clearer. Check color-rendering information if you need to judge paint, food, or fabric accurately. Dimming helps, though not every strip works with every dimmer.
Match the power supply to the strip’s voltage and total wattage.
Multiply the strip’s power per meter by the length, then leave a safety margin within the supply’s rated capacity. Follow the maker’s limits for maximum run length; long runs can show uneven brightness. Don’t coil excess strip while it is on, since trapped heat can shorten its life. It is easy to focus on color and overlook power. A small regret.
Choosing the Right Adhesive, Mounting Method, and Installation Location
Adhesive choice depends on the surface, not just the strip’s weight. Smooth, clean glass or sealed wood usually gives adhesive backing a fair chance. Dust, grease, and textured paint can weaken the bond. Wipe the area with a suitable cleaner, then let it dry fully. Check a small spot first if the finish is delicate. It is easy to underestimate how much warmth or humidity a location holds.
For cabinets or shelves, press the strip firmly along a straight path, without stretching it. Corners can lift over time, so use compatible mounting clips where the strip changes direction or needs extra support. Clips also make later removal less risky. Avoid staples or sharp fasteners; they can damage the strip or its wiring. Leave room near connectors, and do not bend the strip sharply. A neat route matters.
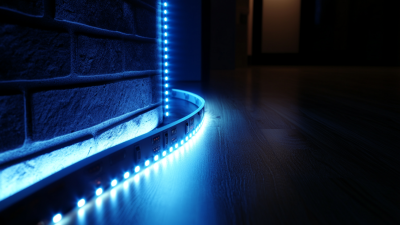
Think about the installation location before peeling the backing. Under a kitchen cabinet, aim the LEDs toward the counter rather than directly into your eyes. Near sinks or outdoors, choose a strip and power supply rated for the expected moisture, and follow their installation instructions. Keep the power supply ventilated and accessible. A small test run helps reveal shadows and glare. Still, even careful measuring can miss one awkward corner. Adjust the route before the adhesive sets.
Checking Voltage, Controls, Waterproofing, and Safety Requirements
For compact LED strip lights, match the strip’s rated voltage to its power supply: a 12-volt strip needs a 12-volt supply. Longer runs may show dimmer light near the far end because of voltage drop, so check the maker’s maximum run length. The U.S. Department of Energy’s 2020 U.S. Lighting Market Characterization estimated that LEDs made up 48% of installed lighting. Efficiency matters, but a mismatched supply can still cause flicker or overheating.
Choose controls that suit the task. A dimmer must be compatible with the strip and driver; otherwise, low settings may flicker. For kitchens or bathrooms, check the full IP rating, not just “water-resistant.” Under IEC 60529, IP65 protects against water jets, while IP67 covers temporary immersion under specified test conditions. Neither rating makes every installation safe in every location. Keep connections protected, follow the product’s installation instructions, and disconnect power before cutting or wiring. Small details matter. A tidy installation can still be poorly matched, so double-check the load and wiring.
Tips: Add up the strip’s wattage before selecting a supply, and leave capacity above that total as its instructions recommend. Measure the route, including corners. For damp areas, seal cut ends and connectors as directed; this step is easy to overlook.
How to Choose Small LED Strip Lights for Your Needs?
Common LED strip supply options include 5 V, 12 V, and 24 V DC. Match the strip, power supply, and controller voltage; also check the controller type and current rating. For damp or outdoor locations, verify the strip’s IP rating and installation requirements—IP ratings describe specific dust and water protection, not general weatherproofing.
Comparing Energy Use, Durability, Compatibility, and Overall Value
How to Choose Small LED Strip Lights for Your Needs?
Compare energy use by checking watts per meter and light output, not brightness claims alone. The U.S. Department of Energy’s Energy Saver guidance says LEDs use at least 75% less energy and can last up to 25 times longer than incandescent lighting. That is a useful technology-wide benchmark, not a guarantee for every strip. A short strip may still draw more power than expected when paired with an oversized supply. Check the strip’s rated voltage and calculate its total wattage before choosing a driver. Small detail. Leave some capacity in the driver, and confirm the controller supports the strip’s color type and dimming method.
Durability depends on placement. For a dry shelf, an unsealed strip may be adequate; near splashes, check its IP rating and installation instructions. IEC 60529 defines the IP enclosure classification system, but a coated strip’s connectors can remain vulnerable. Compatibility also includes cut marks, connector width, and whether the controller matches single-color or RGB wiring. Measure the channel before buying; a few millimeters can spoil a neat fit. For overall value, compare purchase price, expected operating hours, replacement costs, and electricity use. DOE’s longevity figure is a broad comparison, so treat advertised strip life as an estimate, not a promise. There is no perfect shortcut: specifications help, but installation conditions still matter.