10 Tips for Choosing Bathroom Light Fixtures?
Choosing Bathroom Light Fixtures is not only a design decision. It affects visibility, comfort, safety, and the room’s daily atmosphere. A beautiful fixture can still create harsh shadows around the mirror. A bright ceiling lamp may leave your face poorly lit. These small mistakes become noticeable during shaving, applying makeup, or cleaning grout.
This guide presents ten practical tips for selecting suitable Bathroom Light Fixtures. It considers placement, brightness, color temperature, color rendering, fixture size, and energy use. It also explains why damp-rated products matter in humid spaces. Always check the manufacturer’s specifications, installation instructions, and applicable electrical requirements. A qualified electrician should handle wiring, especially near showers or bathtubs.
Measure before shopping.
A tape measure can prevent an expensive mismatch. Note the mirror width, ceiling height, vanity depth, and available wall space. Look closely at the fixture’s IP rating, since not every bathroom location has the same moisture exposure. Warm white light may feel relaxing, while neutral white light often supports clearer grooming. However, personal preference still matters. There is no single perfect bathroom setup.
One practical lesson is that more brightness does not automatically mean better lighting. Excessive glare can make polished tiles uncomfortable to view. Layered lighting usually performs better, combining ambient, task, and accent sources. Even experienced homeowners can overlook switch placement or bulb replacement access. Rechecking these details before installation can save time, money, and frustration. The right choice should look attractive, work reliably, and remain easy to maintain.
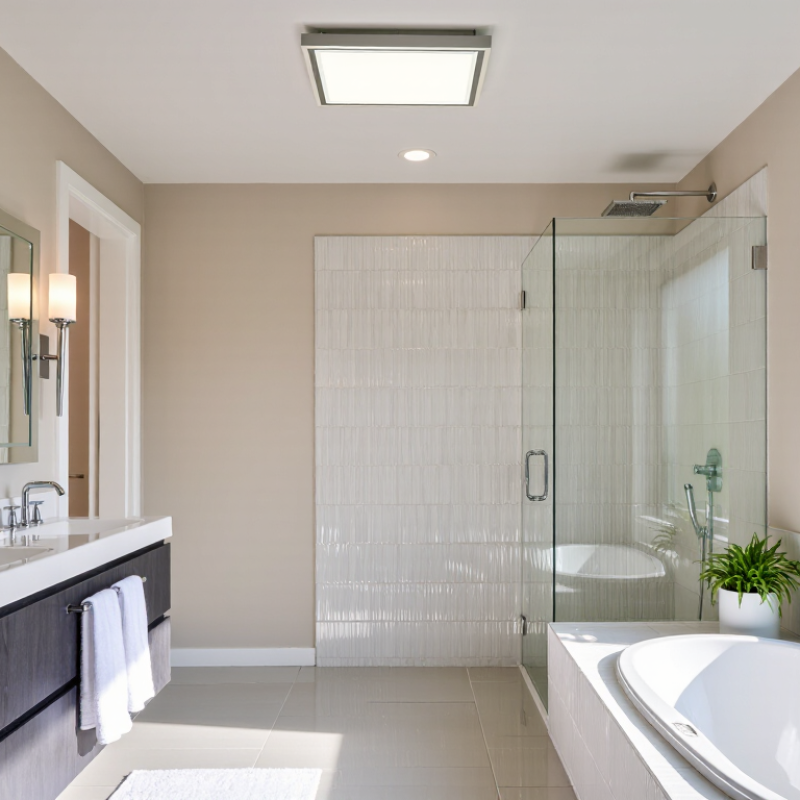
Define Bathroom Lighting Needs and Fixture Functions
10 Tips for Choosing Bathroom Light Fixtures
Define your bathroom lighting needs before browsing fixture styles. A bathroom serves several visual tasks. You may shave, apply makeup, shower, clean, and relax there. Each task needs a different lighting function. Ambient lighting fills the room. Task lighting supports the mirror area. Accent lighting highlights shelves or architectural details. Start by watching your morning routine. Where do shadows appear? Where does glare interrupt your view? These observations are more useful than copying a showroom display.
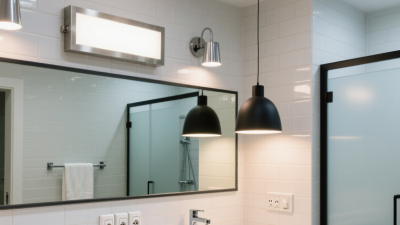
Place task fixtures beside the mirror, not only above it. Side lighting reduces shadows under the eyes and chin. Choose sealed fixtures for damp or wet areas, according to local electrical requirements. Check the fixture’s safety rating and installation instructions carefully. The U.S. Department of Energy reports that LEDs use at least 75% less energy and last up to 25 times longer than incandescent lighting. ENERGY STAR also reports savings of up to 90% for certified LED products. Efficiency matters, but comfort matters too. High color rendering helps skin tones look more natural. A warmer color temperature may feel calmer at night.
I once assumed brighter lighting always improved a bathroom.
That was wrong. Excess brightness can create glare on glossy tile and mirrors. Dimmers can correct this, although they must match the lamp and control system. Light distribution is easy to overlook. So is maintenance. Dust, steam, and water spots change performance over time. Test the fixture at eye level before final installation, if possible. Your first choice may still need adjustment.
Assess Bathroom Size, Layout, and Available Mounting Locations
Choosing bathroom light fixtures starts with the room itself, not a catalog photograph. Measure the width, length, and ceiling height before considering style. A compact powder room may need one mirror light or a small ceiling fixture. A larger bathroom often benefits from layered lighting at the vanity, ceiling, and shower area. Keep scale in view. An oversized fixture can make a narrow room feel crowded. A tiny fixture may leave shadows across your face. I once underestimated a vanity’s depth, and the selected wall lights projected too far into the walkway. That mistake changed the door clearance. Measure twice.
Study the layout and mark every mounting location. Note electrical boxes, mirror edges, medicine cabinets, doors, and shower enclosures. Wall fixtures need enough space beside the mirror. They should not touch trim or cabinet doors. If the mirror is wide, two side lights usually distribute light more evenly than one fixture above it. A centered ceiling fixture can work in an open bathroom, but it may cast shadows beneath your brow. Recessed lighting requires careful spacing and suitable wet-location ratings near water. Consult a qualified electrician when wiring, box placement, or local code is uncertain. Moisture, ventilation, and cleaning access matter as much as appearance. I would not ignore an awkward existing box. Relocating it may improve the room, but hidden repair costs can follow. Leave room for revision.
Choose Suitable Fixture Types for Each Bathroom Area
Bathroom lighting works best when each area receives the fixture type it actually needs. In practice, a single ceiling light often leaves faces shadowed beneath the brow and chin. Near the vanity, install vertical sconces or a wide, diffused fixture beside the mirror. Place them close to eye level, if wall space allows. This creates softer illumination for shaving or applying makeup. A color rendering index of 90 or higher can make skin tones and cosmetic shades look more accurate.
The shower and bathtub zone requires extra caution. Choose fixtures rated for damp or wet locations, according to their position and local electrical rules. A sealed recessed light can provide useful downward illumination, while a ceiling-mounted fixture may suit a low ceiling. Keep switches outside restricted wet areas unless a qualified electrician confirms compliance. Do not rely on appearance alone. A fixture can look sealed and still be unsuitable.
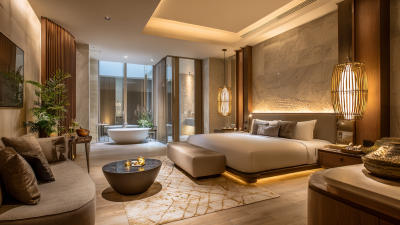
Use a ceiling fixture for general brightness, then add targeted layers where tasks happen. A dimmable, low-level fixture can guide late-night movement without harsh glare. Warm white light usually feels comfortable, but very warm output may distort mirror colors. Test the lighting in both morning and evening conditions. I have seen attractive fixtures create distracting reflections on glossy tile. That detail is easy to miss. Reconsider the finish, beam angle, and mirror position together. Electrical connections should be inspected by a licensed professional where required.
Verify Safety Ratings, Installation Requirements, and Maintenance Needs
Choosing bathroom light fixtures requires more than matching a finish to your tiles. In my experience, safety ratings matter most near showers, bathtubs, and sinks. Check the fixture’s IP rating and confirm it suits the installation zone. A higher second digit usually indicates stronger water protection. However, rating systems can be confusing. Ask a qualified electrician when the location is unclear.
Tip: Verify the product label, installation guide, and local electrical requirements before buying. Some bathrooms require ground-fault protection, suitable junction boxes, or special clearance from water sources. Never assume an old ceiling connection can support a new fixture. Moisture, heat, and poor ventilation can create problems behind the ceiling.
Tip: Review installation requirements carefully. Confirm ceiling strength, wiring access, switch placement, and fixture weight. A licensed professional should handle connections where regulations require it. I once underestimated access above a bathroom ceiling, and the repair took longer than expected. Plan for the awkward parts.
Maintenance should be practical, not decorative. Choose sealed surfaces that tolerate humidity and wipe clean easily. Avoid designs with narrow grooves, exposed fabric, or fragile finishes near steam. Test protective devices regularly, replace damaged seals, and watch for flickering or condensation inside the fixture. These signs should not be ignored. Also consider lamp replacement access. A beautiful fixture becomes frustrating when a ladder and several tools are needed for a simple change.